크롬 업데이트 비활성화
크롬 업데이트 서비스 비활성화
msconfig.msc -> gupdate, gupdatem 옵션 체크 해제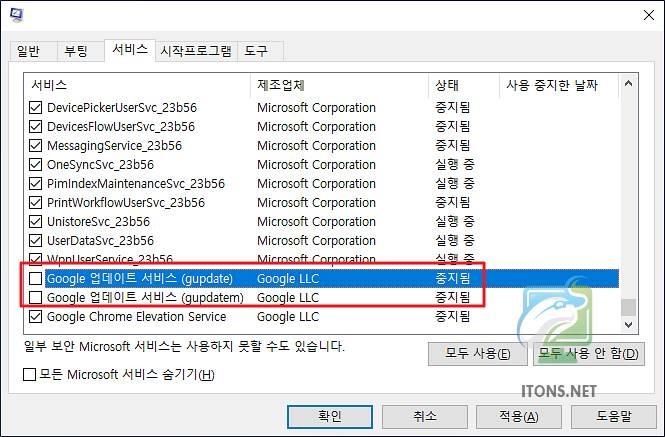
크롬 윈도우 작업스케줄러 비활성화
taskscshd.msc -> GoogleUpdateTaskMachineCore, GoogleUpdateTaskMachineUA 모두 비활성화크롬 업데이트 파일이름 변경
C:\Program Files (x86)\Google\Update의 GoogleUpdate -> GoogleUpdate.bak 로 변경
Windows
준비물
- Visual Studio 2019 16.0.0 이상
- Windows 10 SDK 10.10.17763 이상
- depot_tools
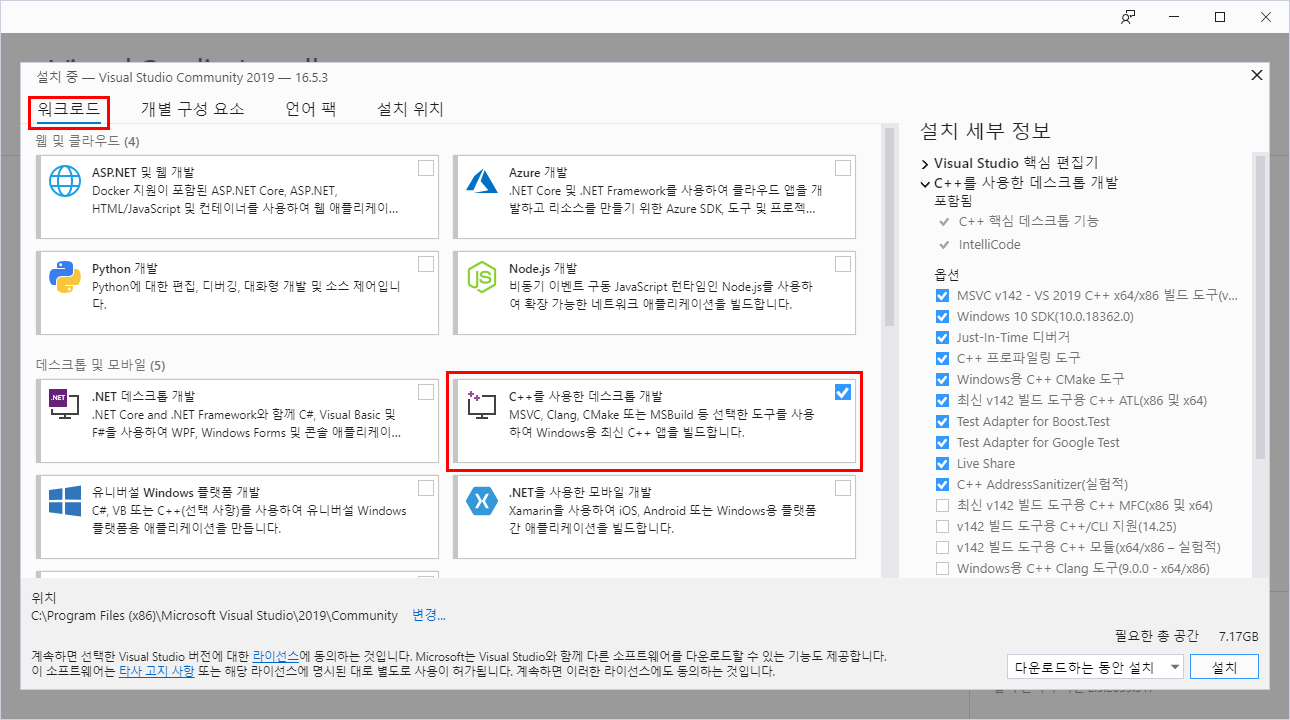
Visual Studio 설치
설치 이후 제어판 → 프로그램 추가/제거
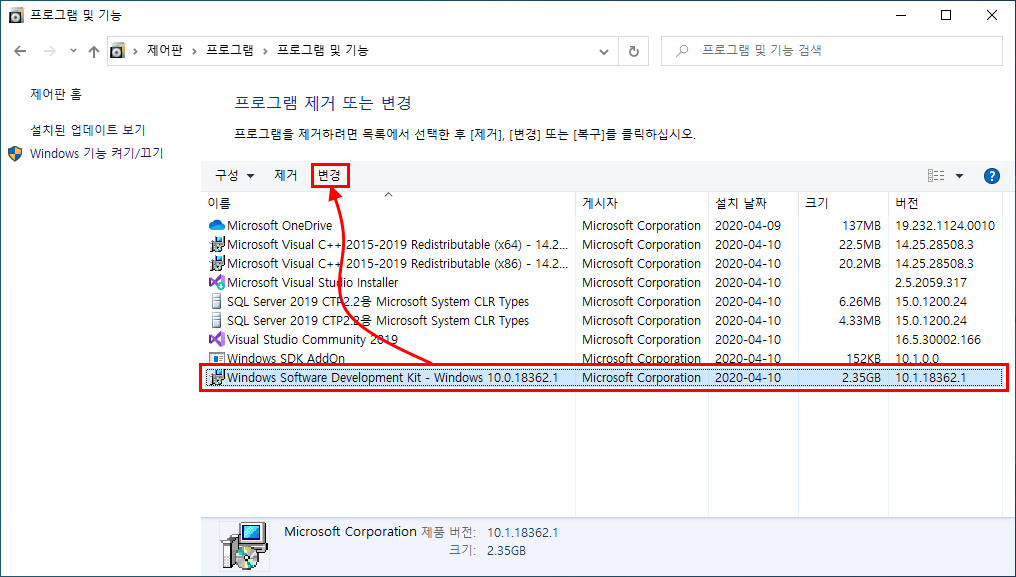
Windows Software Development Kit에서 Change 선택
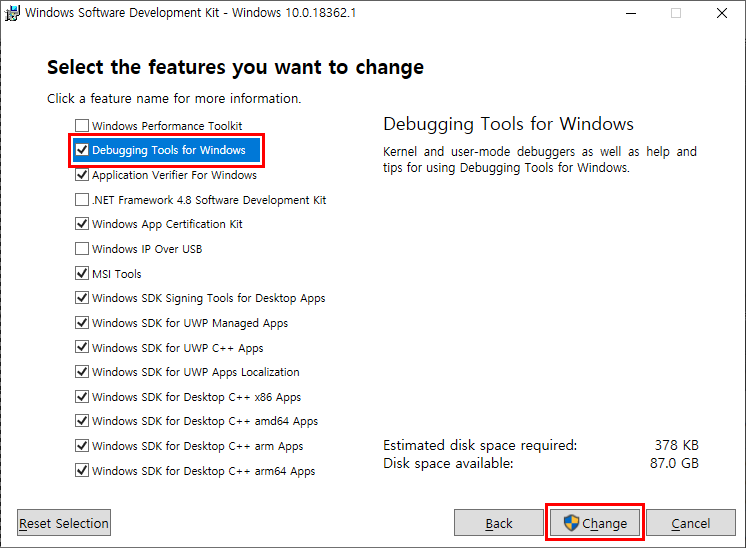
Windows Debugging Tool 체크 후 변경
Depot_tools
https://storage.googleapis.com/chrome-infra/depot_tools.zip해당 파일을 다운로드하여 다음 경로에 압축 해제
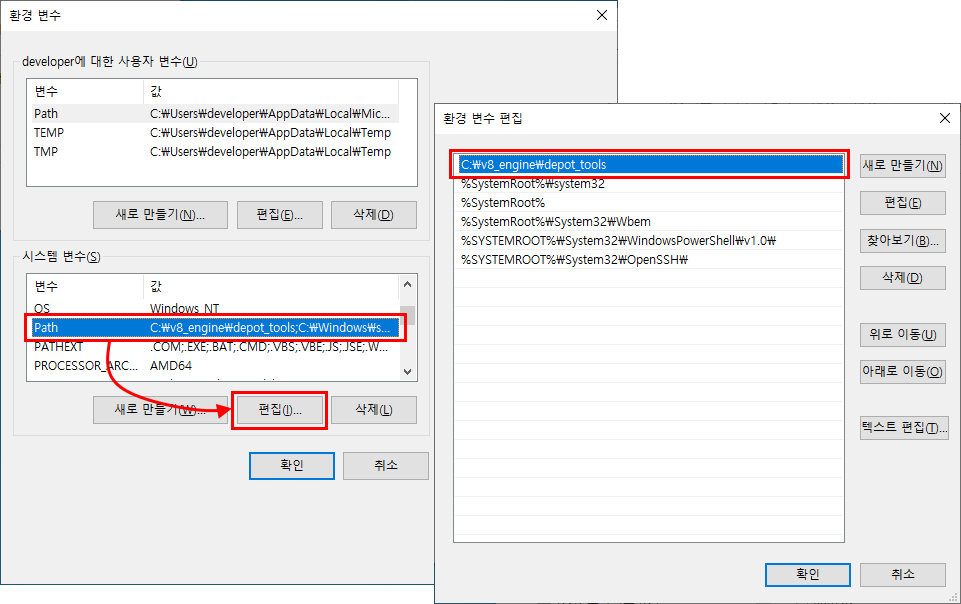
C:\v8_engine\depot_tools그 이후 Path에 환경변수 세팅

추가로 환경 변수 세팅
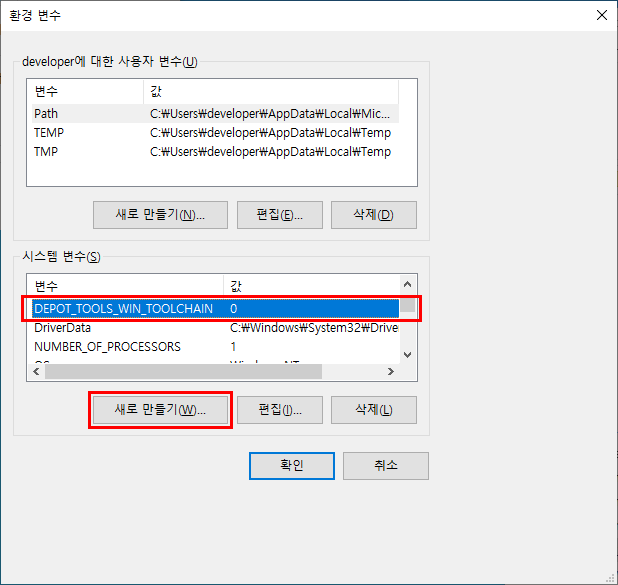
DEPOT_TOOLS_WIN_TOOLCHAIN = 0
GYP_MSVS_VERSION=2019
다음 명령 실행
C:\v8_engine\depot_tools>gclient성공적으로 됐다면 다음 창이 뜬다.
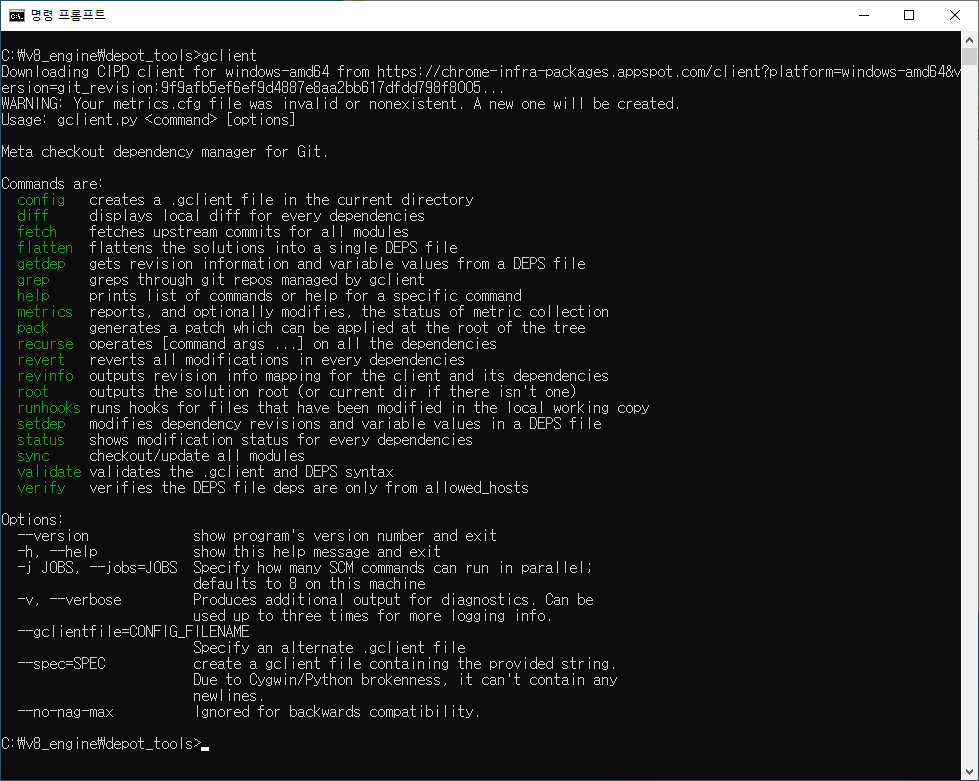
그리고 해당 명령을 입력하여 python.bat파일이 목록의 가장 상단에 뜨는지 확인
C:\v8_engine\depot_tools>where python다른 파이썬을 설치했더라도 저 파일이 가장 상위에 올라와 있어야 함

git 기본 설정
git config --global user.name "[user name]"
git config --global user.email "[email address]"
git config --global core.autocrlf false
git config --global core.filemode false
git config --global branch.autosetuprebase always
v8 엔진의 소스를 받을 폴더를 생성하고 해당 폴더로 이동
C:\v8_engine\depot_tools
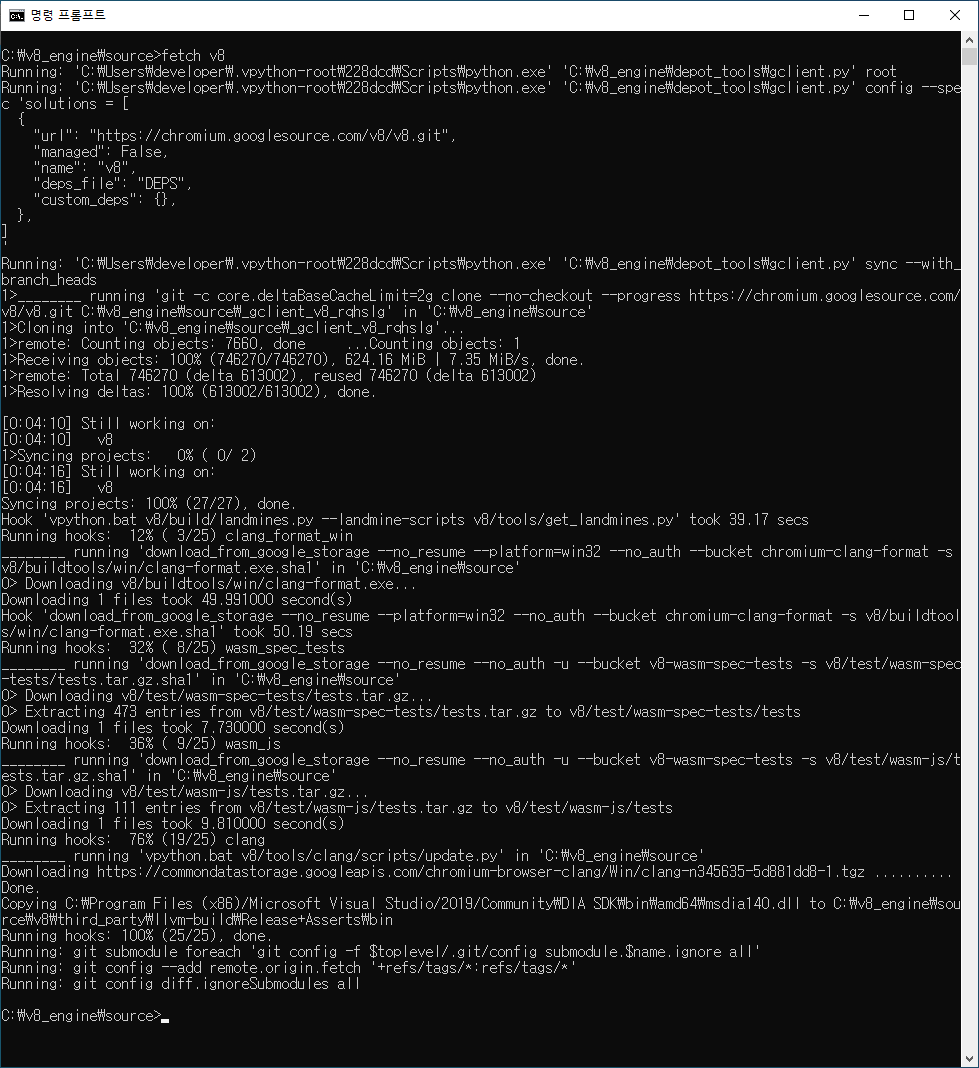
\source해당 명령을 입력하여 소스 다운로드
C:\v8_engine\source>fetch v8... 생략 ...
Downloading https://commondatastorage.googleapis.com/chromium-browser-clang/Win/clang-n345635-5d881dd8-1.tgz .......... Done.
Copying C:\Program Files (x86)/Microsoft Visual Studio/2019/Community\DIA SDK\bin\amd64\msdia140.dll to C:\v8_engine\source\v8\third_party\llvm-build\Release+Asserts\bin
Traceback (most recent call last):
File "v8/tools/clang/scripts/update.py", line 383, in <module>
sys.exit(main())
File "v8/tools/clang/scripts/update.py", line 379, in main
return UpdatePackage(args.package)
File "v8/tools/clang/scripts/update.py", line 313, in UpdatePackage
CopyDiaDllTo(os.path.join(LLVM_BUILD_DIR, 'bin'))
File "v8/tools/clang/scripts/update.py", line 248, in CopyDiaDllTo
CopyFile(dia_dll, target_dir)
File "v8/tools/clang/scripts/update.py", line 242, in CopyFile
shutil.copy(src, dst)
File "C:\v8_engine\depot_tools\bootstrap-3_8_0_chromium_8_bin\python\bin\Lib\shutil.py", line 139, in copy
copyfile(src, dst)
File "C:\v8_engine\depot_tools\bootstrap-3_8_0_chromium_8_bin\python\bin\Lib\shutil.py", line 96, in copyfile
with open(src, 'rb') as fsrc:
IOError: [Errno 2] No such file or directory: 'C:\\Program Files (x86)/Microsoft Visual Studio/2019/Community\\DIA SDK\\bin\\amd64\\msdia140.dll'
Error: Command 'vpython.bat v8/tools/clang/scripts/update.py' returned non-zero exit status 1 in C:\v8_engine\source
Hook 'vpython.bat v8/tools/clang/scripts/update.py' took 117.71 secs
Subprocess failed with return code 2.만약 이런 오류가 발생한다면 소스 자체를 지우고 다시 해야한다.
정상적으로 받았을땐 이런 화면을 보여준다.
이 이전에 git으로 checkout을 할거면 여기서 해야한다. 여기서 git checkout을 하고 gclient sync를 한다.
git checkout 61ed621235324534.....
gclient sync
v8 디렉토리로 이동하여 다음 명령을 입력한다. release debug 둘 중 하나를 고른다.
C:\v8_engine\source\v8>gn gen --ide=vs out\x64."release|debug" --args="is_debug=false is_componnent_build=true"기본적으로 디버그 빌드가 활성화되며 'gn gen out.gn\x64.release –args="is_debug=false"'와같이 실행하면 릴리즈 모드로 빌드된다. (out.gn\x64.Debug는 그냥 경로지정일 뿐 디버그/릴리즈 x86/x64 타겟에는 영향없다.)
(위와같이 is_component_build=true 항목을 추가하면 dynamic library로 빌드된다. 단 v8.dll만 dynamic library로 생성된다.)
정상적으로 실행되면 다음 화면을 보여준다.

이제 'ninja – C out.gn/x64.release'를 실행하면 빌드가 진행된다.
ninja -C out.gn/x64.release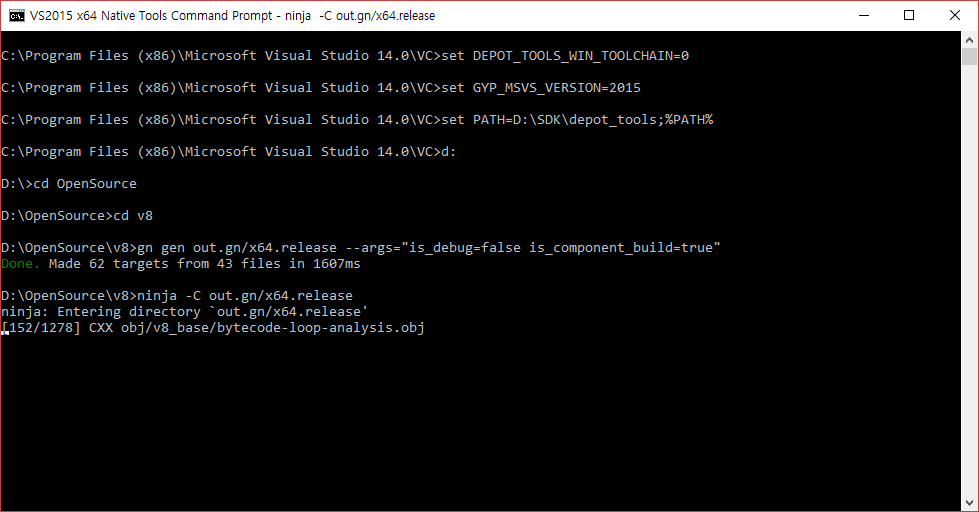
빌드가 완료되면 v8/out.gn/x64.release 폴더에서 파일명이 icu로 시작하는 파일들과, v8.dll, v8.dll.lib 파일을, obj폴더 아래 v8_로 시작하는 폴더들 내 obj 파일을 링크할 때 사용해야한다.
Linux
Build
git clone https://chromium.googlesource.com/chromium/tools/depot_tools.git
export PATH=`pwd`/depot_tools:"$PATH"
fetch v8
cd v8
git checkout c895a23
gclient sync
build/install-build-deps.sh # only Linux

tools/dev/gm.py x64.debug

OR

tools/dev/v8gen.py x64.debug -- v8_enable_slow_dchecks=false v8_enable_backtrace=true v8_enable_object_print=true #generate build option template
ninja -C out.gn/x64.debug #build
Reference
빌드 관련 링크
https://www.lainyzine.com/ko/article/how-to-disable-windows-automatic-updates-on-windows-10/
https://googleprojectzero.github.io/0days-in-the-wild//0day-RCAs/2021/CVE-2021-30632.html